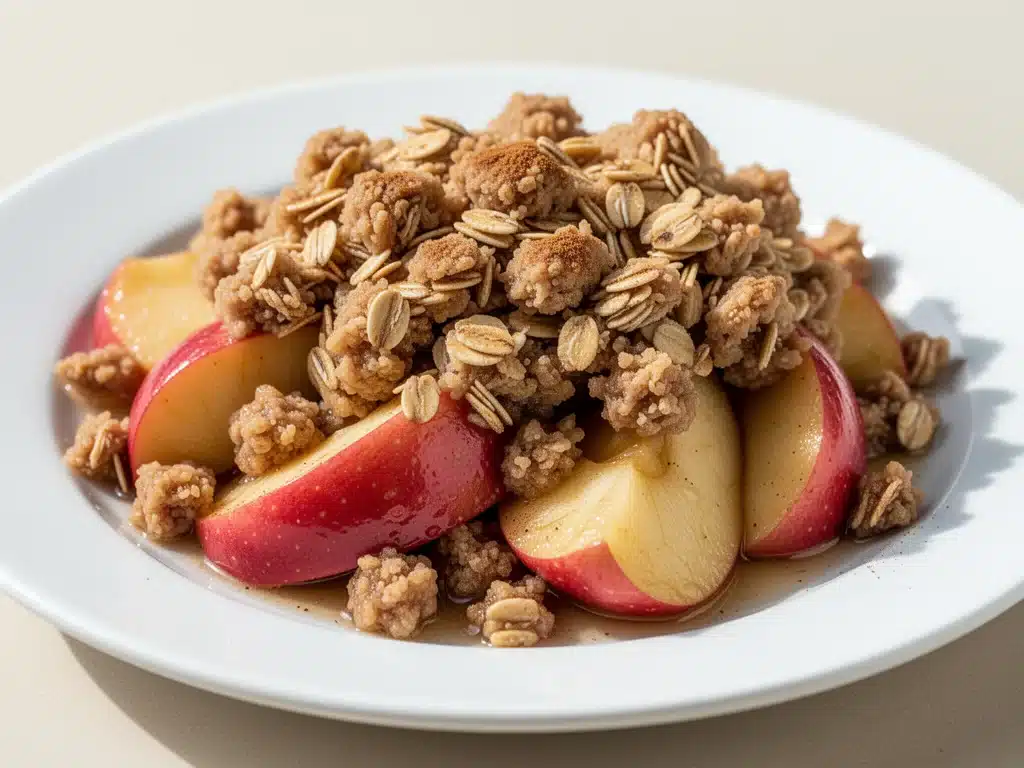
I have a confession to make. For years, I thought apple crisp was just a lazy person’s version of apple pie. You know the type—when you’re too intimidated by pie crusts to bother, so you throw some sliced apples in a dish and dump a bag of brown sugar over them. I was wrong. Terribly, completely wrong. And the moment I realized it, my entire perspective on fall desserts shifted.
The turning point happened last November. My sister-in-law, who is basically a culinary wizard, brought over a dish that looked simple. Golden, craggy, smelling like cinnamon and baked oats. I took one bite, and it was crunchy, tart, buttery, and warm all at once. It wasn’t a compromise. It was better than the pie. It was comfort food in its purest form.
That was three years ago. Since then, I’ve tested dozens of apple crisp recipes. Some were too soggy. Some had crusts that tasted like cardboard. Some used way too much sugar, leaving me with a sticky, overly sweet mess. But this Classic Apple Crisp with Oat Crumble? This one is the gold standard. It’s the recipe I make when I want to impress guests without spending hours in the kitchen. It’s the dessert I pull out when the weather turns crisp and I need something that smells like home.
There’s something deeply satisfying about the contrast in this dessert. The apples become tender and jammy, almost like a compote, while the oat crumble topping stays delightfully crunchy. It’s textural perfection. And the best part? You don’t need any fancy equipment. No food processor, no stand mixer, just a bowl, a fork, and some good apples.
I’ve made this for family gatherings, holiday dinners, and random Tuesday nights when I just needed a hug in dessert form. Every single time, it disappears. Fast. So if you’re looking for a dessert that’s easy, reliable, and absolutely delicious, stop scrolling. This is the one.
Why You’ll Love This Recipe
Let’s be real. We all love desserts, but not all of us have the time or energy to spend hours peeling, slicing, and worrying about soggy bottoms. This apple crisp solves all those problems. Here’s why it’s earned a permanent spot in my weekly rotation:
- Stupid Simple — Seriously, if you can chop an apple and mix oats with butter, you can make this. I’ve walked my teenage son through it over FaceTime, and he nailed it. No skill required.
- Lightning Fast — 45 minutes from start to finish. That’s 10 minutes of prep and 35 minutes of baking. I make this on weeknights when I get home at 6pm and still want something homemade.
- Pantry-Friendly — You probably have 90% of these ingredients already. Flour, oats, brown sugar, butter, cinnamon. The only thing you need to buy is apples. And maybe a stick of butter if you’re out.
- Crowd-Pleaser — I’ve served this to my vegan friend (with vegan butter), my gluten-free neighbor (with GF oats), and my sweet-toothed niece. Everyone finds something they love in this dish.
- Makes Amazing Leftovers — Actually tastes better the next day. The flavors meld together overnight. I deliberately make a double batch for lunch throughout the week.
- Budget-Smart — Feeds 6-8 people for under $10. Apples are cheap in the fall, and oats are dirt cheap. That’s less than the cost of a single slice of cheesecake at a restaurant.
This is my go-to when I need dinner to just work. No complicated techniques, no weird ingredients, just reliable, delicious food that makes everyone happy. It’s the dessert equivalent of a warm blanket.
Ingredients You’ll Need
Here’s the best part: you probably have most of this already. I’m particular about three ingredients here—the apples, the butter, and the oats—and I’ll tell you exactly why.
For the Apple Filling
Apples (6-7 medium, about 3 lbs / 1.4 kg) — This is the star. You want a mix of tart and sweet. I use a combination of Granny Smith (for tartness and structure) and Honeycrisp or Fuji (for sweetness and softness). Avoid Red Delicious—they turn to mush and have no flavor. If you’re feeling fancy, add a few Braeburns for complexity.
Lemon juice (1 tablespoon / 15ml) — Prevents the apples from browning and adds a bright note that cuts through the sweetness. Fresh is best, but bottled works in a pinch.
Granulated sugar (2 tablespoons / 25g) — Just a touch to help the apples caramelize slightly. Most of the sweetness comes from the topping.
Ground cinnamon (1 teaspoon) — The classic flavor. Don’t skip it. If you like spice, add a pinch of nutmeg or allspice.
Ground ginger (½ teaspoon) — Optional, but adds a warm, spicy depth that makes the dessert feel more complex. I always add it.
Vanilla extract (1 teaspoon) — Enhances the apple flavor. Pure vanilla, not imitation.
Cornstarch (2 tablespoons / 15g) — Thickens the juices so you don’t end up with a soupy mess. This is crucial for a proper crisp.
For the Oat Crumble Topping
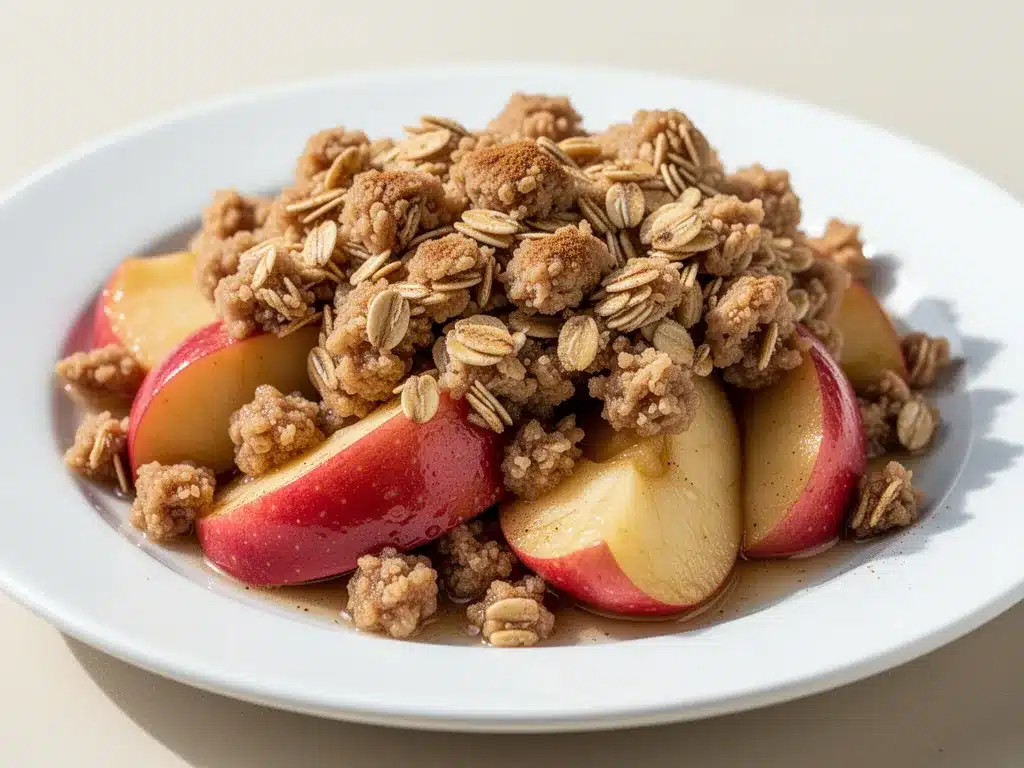
Old-fashioned oats (1½ cups / 120g) — Not quick oats. Quick oats turn to mush. You want the chewy, substantial texture of old-fashioned rolled oats. Gluten-free if needed, but regular oats work beautifully.
All-purpose flour (1 cup / 120g) — Acts as a binder for the topping. Makes it crumbly rather than cakey.
Brown sugar (1 cup / 200g, packed) — Adds moisture and a deep, molasses-like flavor. Light or dark brown sugar both work, but dark is richer.
Cold unsalted butter (½ cup / 115g, cubed) — Cold butter is the secret to a crunchy topping. If the butter is soft, it’ll melt into the flour instead of creating little pockets of crunch. Use salted butter and reduce added salt if you prefer.
Flaky sea salt (½ teaspoon) — Elevates the sweetness. Just a pinch goes a long way.
Chopped pecans or walnuts (½ cup / 60g) — Optional, but highly recommended. Adds crunch and nuttiness. I love pecans with apples, but walnuts work too.
Equipment Needed
You don’t need fancy equipment for this. Here’s what I actually use:
9×13 inch baking dish — Ceramic or glass works best. I use my Pyrex dish because it distributes heat evenly. A metal pan works too, but might brown the top faster.
Large mixing bowl — For tossing the apples with spices and sugar. Any bowl that’s bigger than you think you need.
Medium mixing bowl — For the crumble topping. Smaller than the apple bowl.
Pastry cutter or fork — To cut the butter into the flour/oat mixture. I use a fork because it’s faster and less messy. A pastry cutter works too, but isn’t necessary.
Peeler and knife — For prepping the apples. A Y-peeler is faster, but a paring knife works fine.
Cutting board — Any size works. I use plastic for easier cleanup.
Spatula — For spreading the topping evenly.
How to Make It: Step-by-Step
Alright, let’s make this! I’m walking you through exactly how I do it, including the little tricks I’ve picked up.
Step 1: Prep Your Oven and Dish (5 minutes)
Preheat your oven to 350°F (175°C). Grease your 9×13 inch baking dish with a little butter or non-stick spray. This prevents sticking and makes cleanup easier. I usually just rub a stick of butter around the edges and bottom—it adds flavor too.
Step 2: Peel and Slice the Apples (10 minutes)
Peel the apples. Yes, you can leave the skins on for a rustic look, but peeling gives a more tender texture and uniform appearance. Slice them into ¼-inch thick wedges. Aim for consistency so they cook evenly. Toss them in a large bowl with the lemon juice, granulated sugar, cinnamon, ginger, vanilla, and cornstarch. Mix gently until coated. Set aside.
Step 3: Make the Crumble Topping (5 minutes)
In a medium bowl, whisk together the oats, flour, brown sugar, and salt. Add the cold, cubed butter. Use a fork or your fingers to work the butter into the dry ingredients. You want pea-sized clumps. Some larger clumps are fine—they’ll get extra crunchy. If you’re adding nuts, stir them in now.
Step 4: Assemble the Crisp (5 minutes)
Pour the apple mixture into the prepared baking dish. Spread it out evenly. Sprinkle the crumble topping over the apples. Press down gently with your hands to help it stick. This prevents the topping from sliding off when you serve it.
Step 5: Bake (35-40 minutes)
Place in the oven and bake for 35-40 minutes. The top should be golden brown and crunchy. The apples should be tender when pierced with a fork. If the topping is browning too fast, cover loosely with foil after 25 minutes. Watch for bubbling juices around the edges—that’s a good sign.
Step 6: Cool and Serve (10 minutes)
Let it cool for at least 10 minutes before serving. This allows the juices to thicken slightly. Serve warm with a scoop of vanilla ice cream or a dollop of whipped cream. Or eat it straight from the dish, like I do.
Expert Tips & Tricks
Here’s everything I’ve learned from making this dozens of times. These tips will save you from my mistakes.
Use Cold Butter
This is the #1 tip. Cold butter creates steam when it hits the oven, which lifts the topping and creates flaky, crunchy bits. Soft butter makes a dense, cake-like topping. Cube your butter and keep it in the fridge until the last minute.
Don’t Skip the Cornstarch
Apples release a lot of liquid. Cornstarch absorbs that liquid and thickens it into a syrupy sauce. Without it, you’ll have a watery dish. If you’re out, use 1 tablespoon of flour instead, but cornstarch is better.
Let It Cool
I know it’s tempting to dig in immediately, but cooling is crucial. The filling is extremely hot and runny right out of the oven. Letting it rest for 10-15 minutes allows the juices to set, making it easier to scoop.
Mix Your Apples
Using only one type of apple can lead to uneven texture. Granny Smith holds its shape, while Honeycrisp softens. A mix gives you the best of both worlds. Tart apples also balance the sweetness better.
Add a Pinch of Salt
Salt enhances flavor. A small amount in the topping makes the sweetness pop. Don’t skip it.
Common Mistakes (and how to avoid them):
Mistake: Topping is soggy. Fix: Make sure your oven is fully preheated. Also, don’t cover the crisp while baking. Steam is the enemy of crunch.
Mistake: Apples are undercooked. Fix: Slice them uniformly. If your slices are too thick, they’ll stay hard. Bake an extra 5-10 minutes if needed.
Mistake: Topping is too dark. Fix: Cover with foil after 25 minutes. Ovens vary, so watch closely.
Pro Tricks I’ve Learned:
For Extra Crunch
Add ½ cup of granola or crushed graham crackers to the topping. It adds a different texture that’s delicious.
For Better Flavor
Toast the oats in a dry pan for 3-4 minutes before mixing with the butter. It brings out a nutty flavor.
For Make-Ahead
Assemble the crisp up to 24 hours ahead. Cover and refrigerate. Bake when ready, adding 5-10 minutes to the cooking time since it’s cold from the fridge.
Variations & Substitutions
Once you’ve nailed the basic version, here’s how you can mix it up. I’ve tried all of these.
Pear Crisp
Swap apples for ripe pears. Pears are softer, so reduce the baking time to 30-35 minutes. Add a splash of brandy for elegance.
Blueberry Crisp
Use 4 cups fresh or frozen blueberries. Add 1 teaspoon lemon zest. Blueberries burst and create a jammy center. Delicious.
Pumpkin Spice Crisp
Use 3 cups canned pumpkin puree. Add 1 tablespoon pumpkin pie spice. Top with a streusel instead of oats. It’s like pumpkin pie in crisp form.
Gluten-Free
Use certified gluten-free oats and gluten-free flour. Everything else is naturally gluten-free. I’ve used Bob’s Red Mill GF flour and it works great.
Dairy-Free
Replace butter with cold vegan butter or coconut oil. Use dairy-free ice cream for serving. My lactose-intolerant friend loves this version.
Lower-Sugar
Reduce brown sugar to ½ cup. Use a sugar substitute like erythritol. The apples still provide plenty of sweetness. I make this when I’m watching my intake.
Cherry Crisp
Use 4 cups pitted cherries. Add 1 teaspoon almond extract. Almond and cherry are a classic pairing.
Serving & Storage
How to Serve:
I usually serve this straight from the baking dish at the dinner table—it looks rustic and stays warm. But here are other ways I’ve enjoyed it:
Side Dishes:
Vanilla ice cream (obviously). Whipped cream. Salted caramel sauce. A slice of sharp cheddar cheese (yes, really—cheese and apple is a classic combo).
Toppings Bar:
When I have guests, I put out: extra cinnamon, chopped nuts, caramel drizzle, vanilla bean ice cream. Everyone customizes their bowl.
Wine Pairing:
Not a wine expert, but my wine-snob friend says a late-harvest Riesling or a lightly oaked Chardonnay works great with this.
Storage Instructions:
Refrigerator:
Store in an airtight container or cover tightly with plastic wrap for up to 4 days. The topping will soften slightly, but it’s still good.
Reheating:
Best method: Oven at 350°F for 15-20 minutes. This restores the crunch. Microwave works but makes the topping soggy. If you microwave, do 30-second bursts and let it sit.
Freezing:
Yes, it freezes well! Bake, cool completely, wrap tightly in plastic and foil. Freeze for up to 3 months. Thaw in the fridge overnight and reheat in the oven.
Pro tip:
If the topping loses its crunch, sprinkle a little extra brown sugar and butter on top and broil for 1-2 minutes. Brings it back to life.
Nutrition Information
I’m not a nutritionist, but here’s the breakdown if you’re tracking.
Per Serving (based on 8 servings):
- Calories: 280
- Protein: 3g
- Carbs: 45g
- Fiber: 4g
- Sugar: 28g
- Fat: 10g
- Saturated Fat: 6g
- Cholesterol: 25mg
- Sodium: 120mg
- Calcium: 20mg
What’s Good:
- Decent fiber from oats and apples
- Vitamins A and C from apples
- More filling than it looks
What to Know:
- Higher in sugar from brown sugar
- Contains gluten and dairy
- Moderate calories
My Take:
Look, this is dessert. It’s supposed to taste good. It’s not a diet recipe. But it’s way better than store-bought, costs less, and I know exactly what’s in it. When I want to make it lighter, I reduce the sugar and add more fruit. But usually? I just eat a reasonable portion and enjoy it.
Final Thoughts
So that’s my go-to Classic Apple Crisp with Oat Crumble! I’ve probably talked your ear off at this point, but when you make a recipe this often, you have a lot to say about it.
This has saved dessert time more times than I can count. It’s my answer to “what’s for dessert” when I’m tired, don’t want to bake a cake, and still want something that tastes really good. My kids are happy, my guests are happy, and I’m happy because I’m not stressed about cooking.
Make it yours! Try different apples, add nuts, swap the spices. The best recipes are the ones you adapt to your family’s tastes.
If you make this, drop a comment and let me know what you think! I love hearing how recipes turn out in your kitchen. And if something doesn’t work, tell me that too—I’m here to help troubleshoot.
Happy baking! And I hope your kitchen smells half as good as mine does right now.
Frequently Asked Questions
Q: Can I use canned apples instead of fresh?
A: You can, but the texture will be softer and the flavor less vibrant. If you use canned apples, drain them well and reduce the cornstarch to 1 tablespoon. Fresh apples are definitely better, but canned works in a pinch.
Q: Why did my topping turn out soggy?
A: Usually means the butter was too soft or the oven wasn’t hot enough. Make sure your butter is cold and cubed. Also, don’t cover the crisp while baking. Steam makes the topping soggy.
Q: Can I make this ahead for a dinner party?
A: Absolutely! Assemble the crisp up to 24 hours ahead. Cover and refrigerate. Bake when ready, adding 5-10 minutes to the cooking time. This actually helps the flavors meld.
Q: Can I use quick oats instead of old-fashioned oats?
A: I don’t recommend it. Quick oats are thinner and will turn to mush. Old-fashioned oats provide the chewy texture that makes crisp so good. If you must use quick oats, the texture will be more like a cake.
Q: How do I reheat leftovers without it getting dry?
A: Reheat in the oven at 350°F for 15-20 minutes. This restores the crunch. Microwave works but makes the topping soggy. If you microwave, do 30-second bursts and let it sit.
Q: Can I freeze this apple crisp?
A: Yes! Bake, cool completely, wrap tightly in plastic and foil. Freeze for up to 3 months. Thaw in the fridge overnight and reheat in the oven.
Q: Can I use apple pie filling instead of fresh apples?
A: You can, but it’s very sweet and has a different texture. If you use pie filling, reduce the brown sugar in the topping to ½ cup. It’s easier, but fresh apples taste better.
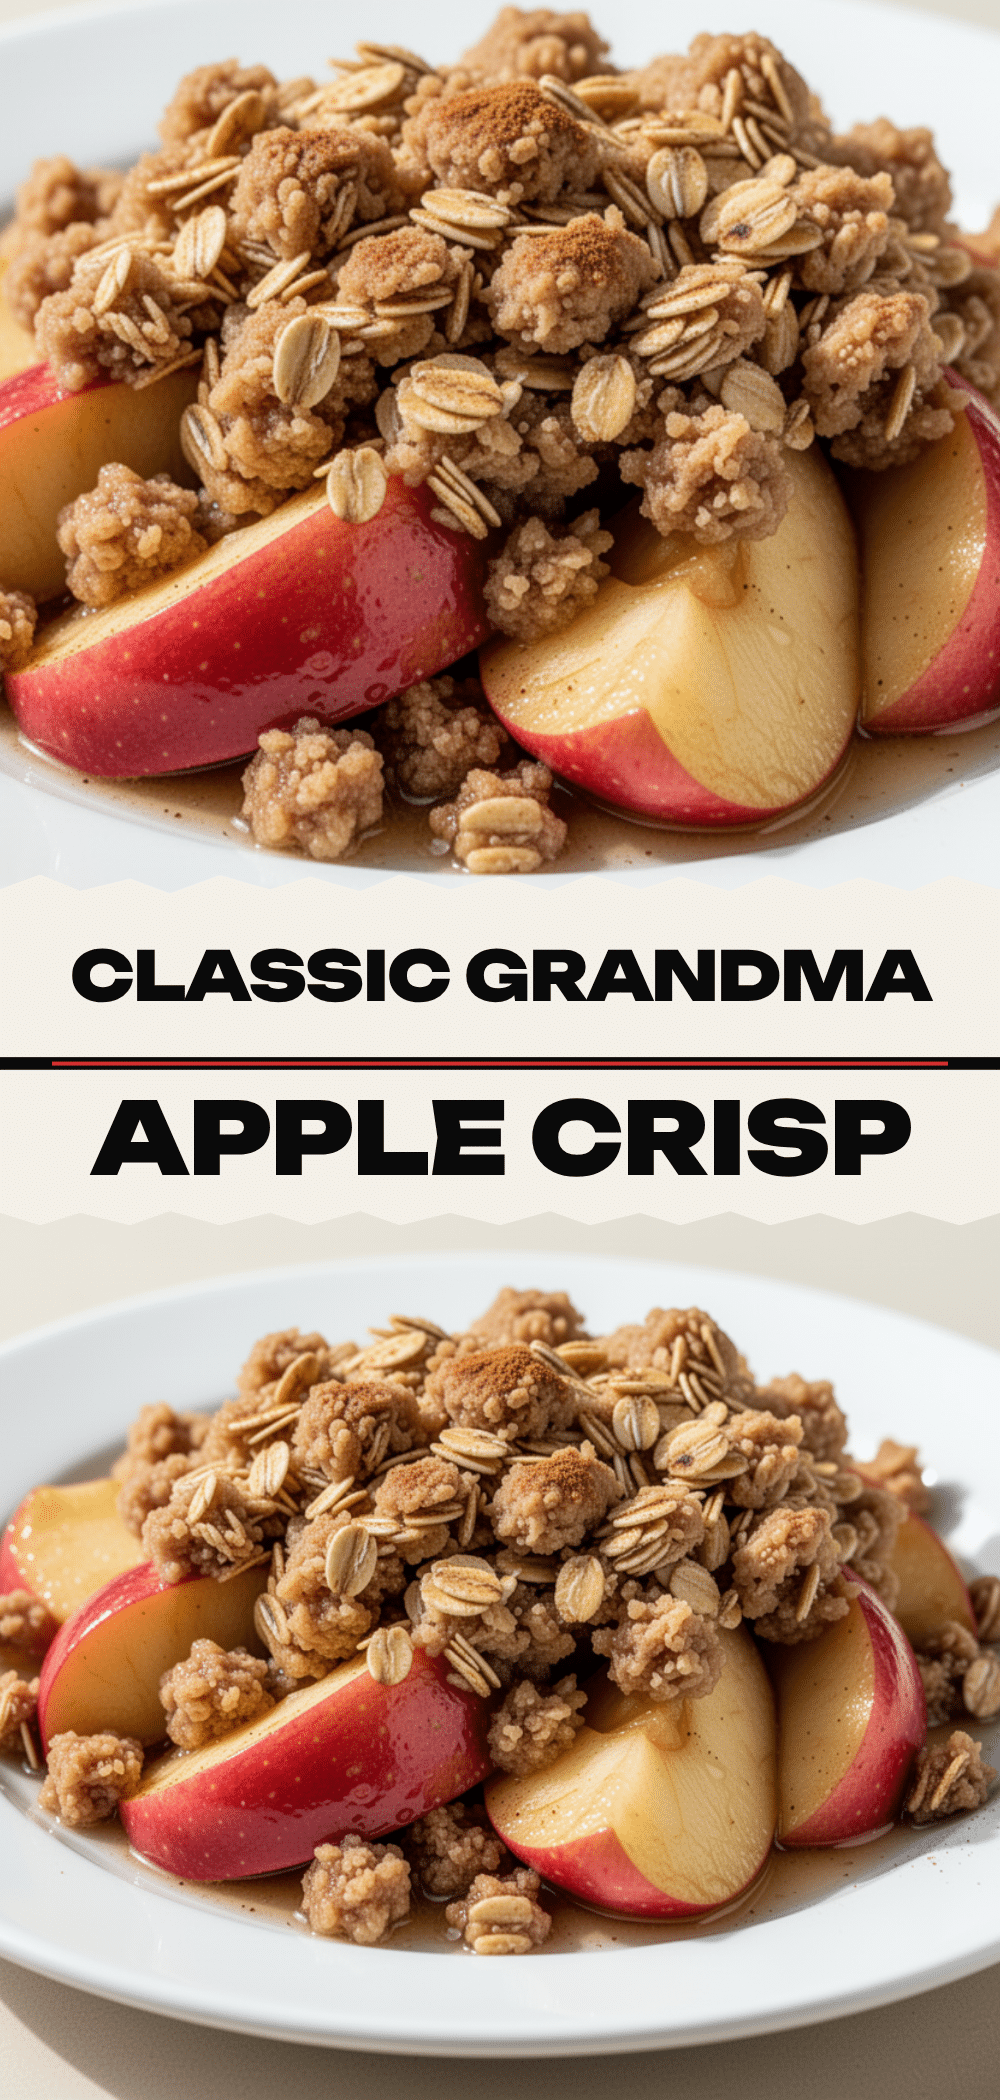
Pin This Recipe!
Classic Apple Crisp with Oat Crumble
- Total Time: 45 minutes
- Yield: 8 servings 1x
Description
A reliable, easy-to-make fall dessert featuring tender, jammy apples topped with a crunchy, buttery oat crumble. This recipe is pantry-friendly, crowd-pleasing, and perfect for weeknights or gatherings.
Ingredients
- 6–7 medium apples (about 3 lbs), peeled and sliced into ¼-inch wedges (mix of Granny Smith and Honeycrisp/Fuji)
- 1 tablespoon lemon juice
- 2 tablespoons granulated sugar
- 1 teaspoon ground cinnamon
- ½ teaspoon ground ginger
- 1 teaspoon vanilla extract
- 2 tablespoons cornstarch
- 1½ cups old-fashioned rolled oats
- 1 cup all-purpose flour
- 1 cup packed brown sugar
- ½ cup cold unsalted butter, cubed
- ½ teaspoon flaky sea salt
- ½ cup chopped pecans or walnuts (optional)
Instructions
- Preheat oven to 350°F (175°C). Grease a 9×13 inch baking dish with butter or non-stick spray.
- In a large bowl, toss sliced apples with lemon juice, granulated sugar, cinnamon, ginger, vanilla, and cornstarch until evenly coated. Set aside.
- In a medium bowl, whisk together oats, flour, brown sugar, and salt. Add cold cubed butter and work it into the dry ingredients using a fork or fingers until pea-sized clumps form. Stir in nuts if using.
- Pour the apple mixture into the prepared baking dish and spread evenly. Sprinkle the crumble topping over the apples and press down gently.
- Bake for 35-40 minutes, or until the topping is golden brown and the apples are tender. If the topping browns too quickly, cover loosely with foil after 25 minutes.
- Let the crisp cool for at least 10 minutes before serving to allow the juices to thicken. Serve warm with ice cream or whipped cream.
Notes
Use cold butter for a crunchy topping. Do not skip the cornstarch as it thickens the apple juices. Let the crisp cool for 10 minutes before serving to prevent runny texture. Can be made ahead and refrigerated for up to 24 hours before baking.
- Prep Time: 10 minutes
- Cook Time: 35 minutes
- Category: Dessert
- Cuisine: American
Nutrition
- Serving Size: 1 slice
- Calories: 280
- Sugar: 28
- Sodium: 120
- Fat: 10
- Saturated Fat: 6
- Carbohydrates: 45
- Fiber: 4
- Protein: 3
Keywords: apple crisp, oat crumble, fall dessert, easy dessert, family dessert, baked apples, gluten-free option, dairy-free option


