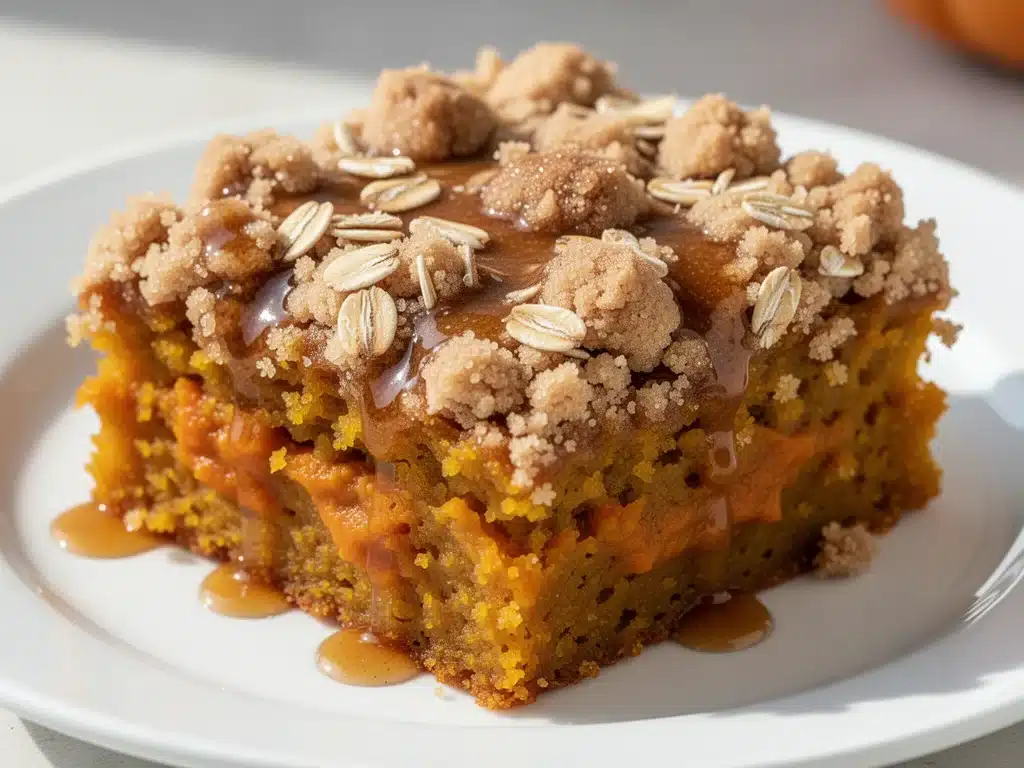
There is a specific kind of magic that happens in October when the air turns crisp and the leaves start to turn. For me, it’s the smell of cinnamon and nutmeg drifting from the oven that signals the true start of autumn. Last year, I was feeling overwhelmed by a mountain of canned pumpkin I’d bought on sale, convinced I needed to bake a dozen different pies and breads before it went bad. I was tired. I didn’t want to wash bowls. I didn’t want to worry about rising times or complex crusts.
So, I did what any exhausted home cook does: I threw everything in a pan and hoped for the best. That was the birth of my favorite fall cinnamon pumpkin dump cake. I remember pulling it out of the oven, expecting a sad, mushy mess. Instead, I found a golden, crumbly, cinnamon-sugar crust bubbling over a rich, spiced pumpkin center. My kids ate it straight from the dish with spoons. My husband asked if I’d finally mastered a professional bakery recipe. I just smiled and told him the secret was laziness.
This fall cinnamon pumpkin dump cake has since become my go-to autumn dessert. It’s reliable, it’s incredibly easy, and it tastes like a hug in dessert form. I’ve made it for Thanksgiving, for Halloween parties, and just for Tuesday night snacks when I need something sweet but don’t have the energy for baking. It’s the kind of dessert that feels fancy because of the smell and the presentation, but takes ten minutes of actual work. If you’re looking for an easy autumn dessert that delivers big flavor without the stress, this is it.
Why You’ll Love This Recipe
There are plenty of pumpkin desserts out there, but this dump cake stands out for a few reasons that have kept me coming back to it season after season. Here’s why it’s earned a permanent spot in my fall baking rotation.
- Zero Skills Required — Seriously. If you can open a can and sprinkle sugar, you can make this. I’ve made this while holding a toddler and answering work emails. It’s that forgiving.
- Lightning Fast Prep — You’re looking at about 10 minutes of prep time. No creaming butter, no sifting dry ingredients, no waiting for dough to rise. Just dump, bake, and enjoy.
- Perfect Texture Contrast — This is the big one. You get that warm, soft, custardy pumpkin layer on the bottom, and a crunchy, cakey, cinnamon-sugar crust on top. The texture contrast is what makes it addictive.
- Pantry-Friendly — You probably already have most of these ingredients. Canned pumpkin, cake mix, spices, butter, and brown sugar. It’s a great way to use up staples you already have.
- Make-Ahead Friendly — This tastes even better the next day. The flavors meld together overnight, and the crust stays slightly crisp. I often make it the night before a gathering so I’m not stressed in the morning.
- Family Favorite — My picky eaters love it because it’s sweet and familiar. The cinnamon sugar topping reminds them of donuts, and the pumpkin is mild enough that no one complains.
This recipe takes the guesswork out of baking. It’s reliable, delicious, and makes your kitchen smell like a fall fantasy. It’s the perfect dessert for when you want to impress guests without spending hours in the kitchen.
Ingredients You’ll Need
One of the best things about this fall cinnamon pumpkin dump cake is how simple the ingredient list is. You don’t need fancy flours or obscure spices. Here is exactly what you need and why I’m particular about each one.
For the Pumpkin Base
Canned Pumpkin Puree (15 oz / 425g) — Make sure it’s 100% pure pumpkin, not pumpkin pie mix. The mix already has sugar and spices, which will throw off the balance. I use Libby’s because it’s consistently smooth and thick.
Granulated Sugar (½ cup / 100g) — This sweetens the pumpkin layer. You can reduce this slightly if you prefer less sweet, but I recommend keeping it to balance the tartness of the pumpkin.
Spiced Pumpkin Pie Spice (1 tablespoon) — This is the heart of the flavor. It’s usually a blend of cinnamon, ginger, nutmeg, and cloves. If you don’t have pre-made blend, you can mix your own: 2 tsp cinnamon, 1 tsp ginger, ½ tsp nutmeg, and ¼ tsp cloves.
Heavy Cream (½ cup / 120ml) — This gives the pumpkin layer that rich, custard-like texture. You can use half-and-half for a lighter version, but it won’t be as luxurious. Whole milk works in a pinch, but the fat content matters for richness.
Vanilla Extract (1 teaspoon) — Just a splash to round out the flavors. Use real vanilla extract, not imitation, if you can.
For the Crust
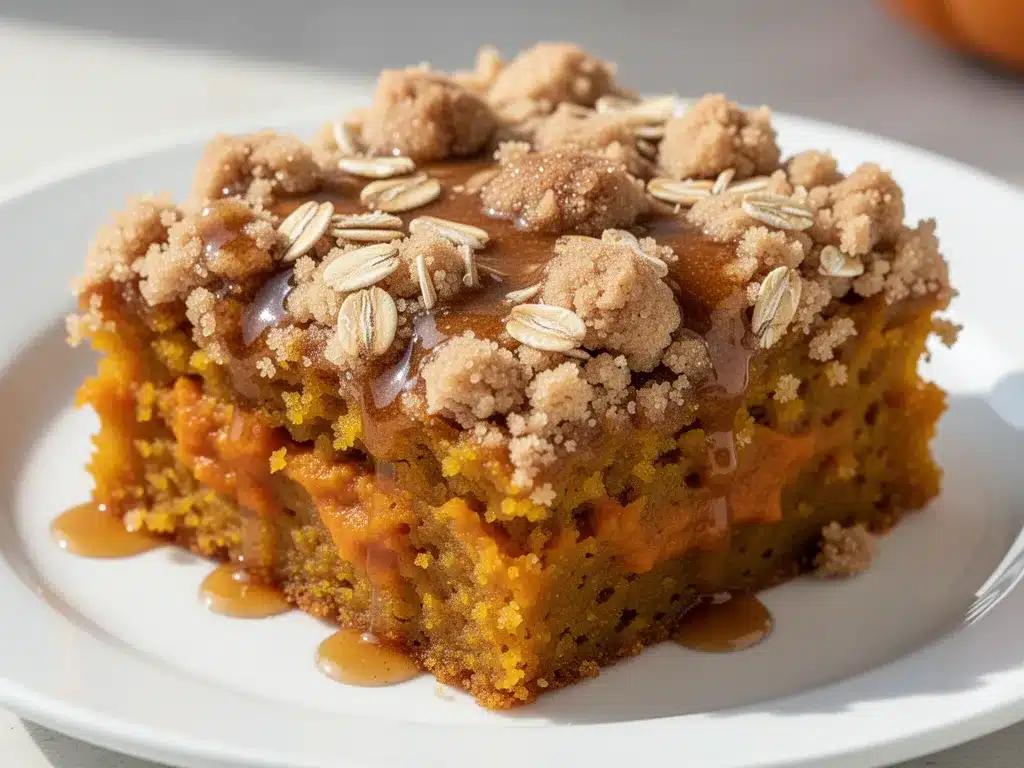
Yellow Cake Mix (1 box / 15.25 oz) — I prefer yellow cake mix over vanilla because it has a richer, buttery flavor that stands up well to the pumpkin. You can use spice cake mix for an extra cinnamon kick, but yellow is the classic choice. Do not use a “light” or “low-fat” cake mix; it won’t create the same crumbly texture.
Ground Cinnamon (1 teaspoon) — Extra cinnamon for the topping. Don’t skip this; it makes the crust taste like a cinnamon roll.
Brown Sugar (½ cup / 100g, packed) — This adds moisture and a deep molasses flavor to the crust. Light or dark brown sugar both work, but dark gives a slightly more robust taste.
Unsalted Butter (½ cup / 113g, melted) — This binds the dry ingredients together. You must use real butter, not margarine. Melt it completely before pouring. If you use salted butter, reduce any added salt in other steps (though there isn’t any here).
Optional Add-Ins
Chopped Pecans or Walnuts (½ cup) — I love adding nuts for extra crunch and flavor. Sprinkle them over the pumpkin layer before adding the cake mix. It adds a nice earthy contrast.
Cream Cheese (4 oz, softened) — Some people swirl a layer of sweetened cream cheese in the middle for a cheesecake-like effect. It’s delicious but adds an extra step.
Equipment Needed
You don’t need any fancy gadgets for this recipe. Here’s what I actually use and why.
9×13 Inch Baking Dish — I use a glass Pyrex dish because it heats evenly and I can see the bubbling edges. A metal pan works too, but glass is easier to clean. Make sure it’s greased.
Mixing Bowl — A medium bowl for whisking the pumpkin mixture. Any bowl will do.
Whisk — For blending the pumpkin, sugar, spices, and cream until smooth. A fork works in a pinch, but a whisk is faster.
Measuring Cups and Spoons — Standard stuff. I use metal measuring spoons for accuracy.
Small Bowl — For mixing the cake mix, cinnamon, brown sugar, and melted butter. A small ramekin or cup works well.
Spatula — For spreading the pumpkin mixture evenly. A silicone spatula is best because it scrapes the bowl clean.
How to Make It: Step-by-Step
Alright, let’s make this fall cinnamon pumpkin dump cake! I’m walking you through exactly how I do it, including the little tricks that ensure success.
Step 1: Prep Your Oven and Pan (2 minutes)
Preheat your oven to 350°F (175°C). Grease your 9×13 inch baking dish with butter or non-stick spray. This is crucial because the sugar in the crust can caramelize and stick if the pan isn’t well-greased. I like to grease it generously—it’s better to have too much butter than to fight stuck cake later.
Step 2: Mix the Pumpkin Layer (5 minutes)
In your mixing bowl, combine the canned pumpkin, granulated sugar, pumpkin pie spice, heavy cream, and vanilla extract. Whisk until the mixture is completely smooth and uniform. There should be no lumps of sugar or unmixed spices. This mixture will be somewhat liquid, which is normal. Pour it into the prepared baking dish and spread it out evenly. It should cover the bottom completely.
Step 3: Prepare the Crust Mixture (3 minutes)
In a separate small bowl, combine the dry yellow cake mix, ground cinnamon, and brown sugar. Stir them together with a fork. Then, pour in the melted butter. Stir until the mixture resembles coarse, wet sand. It should clump together when you squeeze it, but still be crumbly. If it looks too dry, add a teaspoon more melted butter. If it’s too soupy, add a tablespoon more cake mix.
Step 4: Assemble the Cake (2 minutes)
Take your crumbly crust mixture and sprinkle it evenly over the pumpkin layer. Don’t press it down! Just let it sit on top. You want it to be loose and crumbly so it bakes up into a nice crust. If you’re adding nuts, sprinkle them over the crust now. It’s okay if the pumpkin shows through in spots; it will bubble up during baking.
Step 5: Bake (45-55 minutes)
Place the dish in the preheated oven and bake for 45-55 minutes. You’ll know it’s done when the crust is golden brown and the pumpkin layer is bubbling vigorously around the edges. The center might still look slightly soft, but it will set as it cools. If the top starts browning too quickly, you can loosely tent it with aluminum foil for the last 10 minutes.
Step 6: Cool and Serve (30 minutes)
Let the cake cool in the pan for at least 30 minutes before serving. This is the hardest part, I know. But cooling allows the pumpkin layer to set so it doesn’t run off the spoon. Serve warm with a dollop of whipped cream or a scoop of vanilla ice cream. The contrast of hot cake and cold ice cream is perfection.
Expert Tips & Tricks
Here’s everything I’ve learned from making this dump cake dozens of times. These tips will save you from my early mistakes.
Don’t Skip the Grease — I cannot stress this enough. Sugar burns. If your pan isn’t well-greased, you will have a sticky mess to scrub later. I use butter for extra flavor.
Use Real Butter — Margarine has a higher water content and different fat structure. It won’t create the same rich, crumbly texture. It’s worth the extra few cents for real butter.
Check Your Oven Temp — Ovens can be inaccurate. If your cake is browning too fast but the center is raw, your oven might be too hot. Use an oven thermometer to check. If it is, lower the temp by 25 degrees.
Let It Cool — I know you want to dig in immediately. But the pumpkin layer is like a custard. If you cut it while it’s piping hot, it will be soupy. Let it rest for 30 minutes. The texture improves dramatically.
Customize the Spice — If you love cinnamon, add an extra teaspoon. If you prefer nutmeg, add more of that. This is your canvas. Adjust the spices to your taste.
Storage Tip — Cover the pan tightly with plastic wrap or foil. It keeps fresh in the fridge for up to 4 days. Actually, I think it tastes better on day two as the flavors meld.
Variations & Substitutions
Once you’ve nailed the basic version, here’s how you can mix it up. I’ve tried all of these variations.
Spice Cake Version — Swap the yellow cake mix for a spice cake mix. This intensifies the cinnamon and spice flavor. It’s my personal favorite for fall.
Chocolate Pumpkin — Swap the yellow cake mix for chocolate cake mix. The combination of chocolate and pumpkin is surprisingly amazing. It tastes like a pumpkin brownie.
Gluten-Free — Use a gluten-free yellow cake mix. Most major brands work well in this recipe. Just check the label to ensure it’s a direct substitute.
Dairy-Free — Use dairy-free butter and almond milk or coconut cream instead of heavy cream. Most cake mixes are accidentally dairy-free, but check the label. Some contain whey.
Vegan — This is trickier because cake mixes often contain eggs and dairy. Look for a vegan-certified cake mix, use coconut cream, and use vegan butter. It works, but the texture will be slightly different.
With Cream Cheese Swirl — Before adding the crust, mix 4 oz softened cream cheese with 2 tablespoons sugar and 1 teaspoon vanilla. Dollop this over the pumpkin layer and swirl with a knife. Then add the crust. It adds a tangy richness.
Maple Pecan — Add ½ cup chopped pecans to the crust mixture. The nuts add a wonderful crunch and earthy flavor that pairs beautifully with the maple notes if you substitute some brown sugar with maple syrup.
Serving & Storage
How to Serve: I usually serve this warm, right out of the oven or gently reheated. It looks rustic and homey in the glass dish. I often put out a bowl of whipped cream and let everyone top their own slice.
Side Dishes: This is a dessert, so it doesn’t need sides. But if you’re serving it after a meal, a simple green salad balances the sweetness. It’s also great with coffee or tea in the afternoon.
Reheating: To reheat leftovers, microwave individual slices for 30-60 seconds. Or, warm the whole dish in a 300°F oven for 15 minutes. Avoid the microwave for the whole dish as it can make the crust soggy.
Storage: Store covered in the fridge for up to 4 days. The crust will soften slightly in the fridge, but it’s still delicious. Bring to room temperature or warm before serving for the best texture.
Freezing: You can freeze this cake! Wrap individual slices tightly in plastic wrap and foil. Freeze for up to 2 months. Thaw in the fridge overnight and reheat. The texture holds up surprisingly well.
Nutrition Information
I’m not a nutritionist, but here’s the breakdown if you’re tracking. This is a rich dessert, so portion control is key.
Per Serving (based on 12 servings):
- Calories: 320
- Protein: 3g
- Carbs: 45g
- Fiber: 1g
- Sugar: 28g
- Fat: 14g
- Saturated Fat: 7g
- Cholesterol: 35mg
- Sodium: 350mg
What’s Good: It provides some vitamin A from the pumpkin. It’s relatively quick to make, so you’re not consuming hours of screen time while baking.
What to Know: It’s high in sugar and carbs due to the cake mix and brown sugar. If you’re watching sugar, consider using a sugar-free cake mix or reducing the brown sugar slightly. But honestly, this is a treat. Enjoy it mindfully.
Final Thoughts
So that’s my go-to fall cinnamon pumpkin dump cake! I’ve probably talked your ear off at this point, but when you make a recipe this often, you have a lot to say about it. This dessert has saved my social life more times than I can count. It’s my answer to “What can I bring to the potluck?” or “What can I make for a last-minute guest?” when I’m tired, don’t want to stress, and still want something that tastes really good.
My kids are happy, my friends are happy, and I’m happy because I’m not stressed about baking. It’s comfort food in the truest sense. Make it yours! Try different nuts, swap the cake mix, or add a cream cheese layer. The best recipes are the ones you adapt to your family’s tastes.
If you make this, drop a comment and let me know what you think! I love hearing how recipes turn out in your kitchen. And if something doesn’t work, tell me that too—I’m here to help troubleshoot. Happy baking, and I hope your kitchen smells half as good as mine does right now.
Frequently Asked Questions
Can I use pumpkin pie filling instead of pure pumpkin?
Technically, you can, but I don’t recommend it. Pumpkin pie filling already has sugar and spices added. If you use it, you’ll need to drastically reduce the sugar in the recipe and skip the pumpkin pie spice, or it will be overly sweet and spiced. Pure pumpkin puree gives you control over the sweetness and flavor, which I prefer.
Why did my cake turn out dry?
This usually happens if you overbake it. Cake mixes can vary, so start checking at 40 minutes. The cake is done when the edges are bubbling and the top is golden, not when a toothpick comes out completely clean. The center should still be slightly moist because it continues to cook as it cools. Also, ensure your oven temperature is accurate.
Can I make this in a different sized pan?
You can, but the baking time will change. If you use an 8×8 inch pan, the cake will be thicker and may need 5-10 more minutes to bake. If you use a larger pan, it will be thinner and bake faster. Keep an eye on it. The visual cues (bubbling edges, golden crust) are more important than the timer.
Is this cake supposed to be moist or dry on top?
The top should be crumbly and cake-like, not dry like a biscuit. It should have a slight crunch from the brown sugar and butter. If it’s dry, you might have used too much cake mix or not enough butter in the crust. The pumpkin layer underneath should be moist and custardy.
Can I freeze the whole cake?
Yes! Let it cool completely, then wrap the entire pan tightly in plastic wrap and foil. Freeze for up to 2 months. Thaw in the fridge overnight. Reheat individual slices in the microwave or the whole dish in a low oven. The texture holds up well, though the crust may soften slightly.
What’s the best way to reheat leftovers?
For best results, reheat individual slices in the microwave for 30-60 seconds. This brings back the warmth and softens the crust slightly. If you want a crispier crust, warm the whole dish in a 300°F oven for 15 minutes. Avoid reheating in the microwave for too long, or it will become rubbery.
Can I add other mix-ins?
Absolutely! Chopped pecans, walnuts, or even white chocolate chips work great. Add them to the crust mixture or sprinkle them over the pumpkin layer before adding the crust. Just be mindful that extra wet ingredients (like fresh fruit) might change the baking time and texture.
Pin This Recipe!
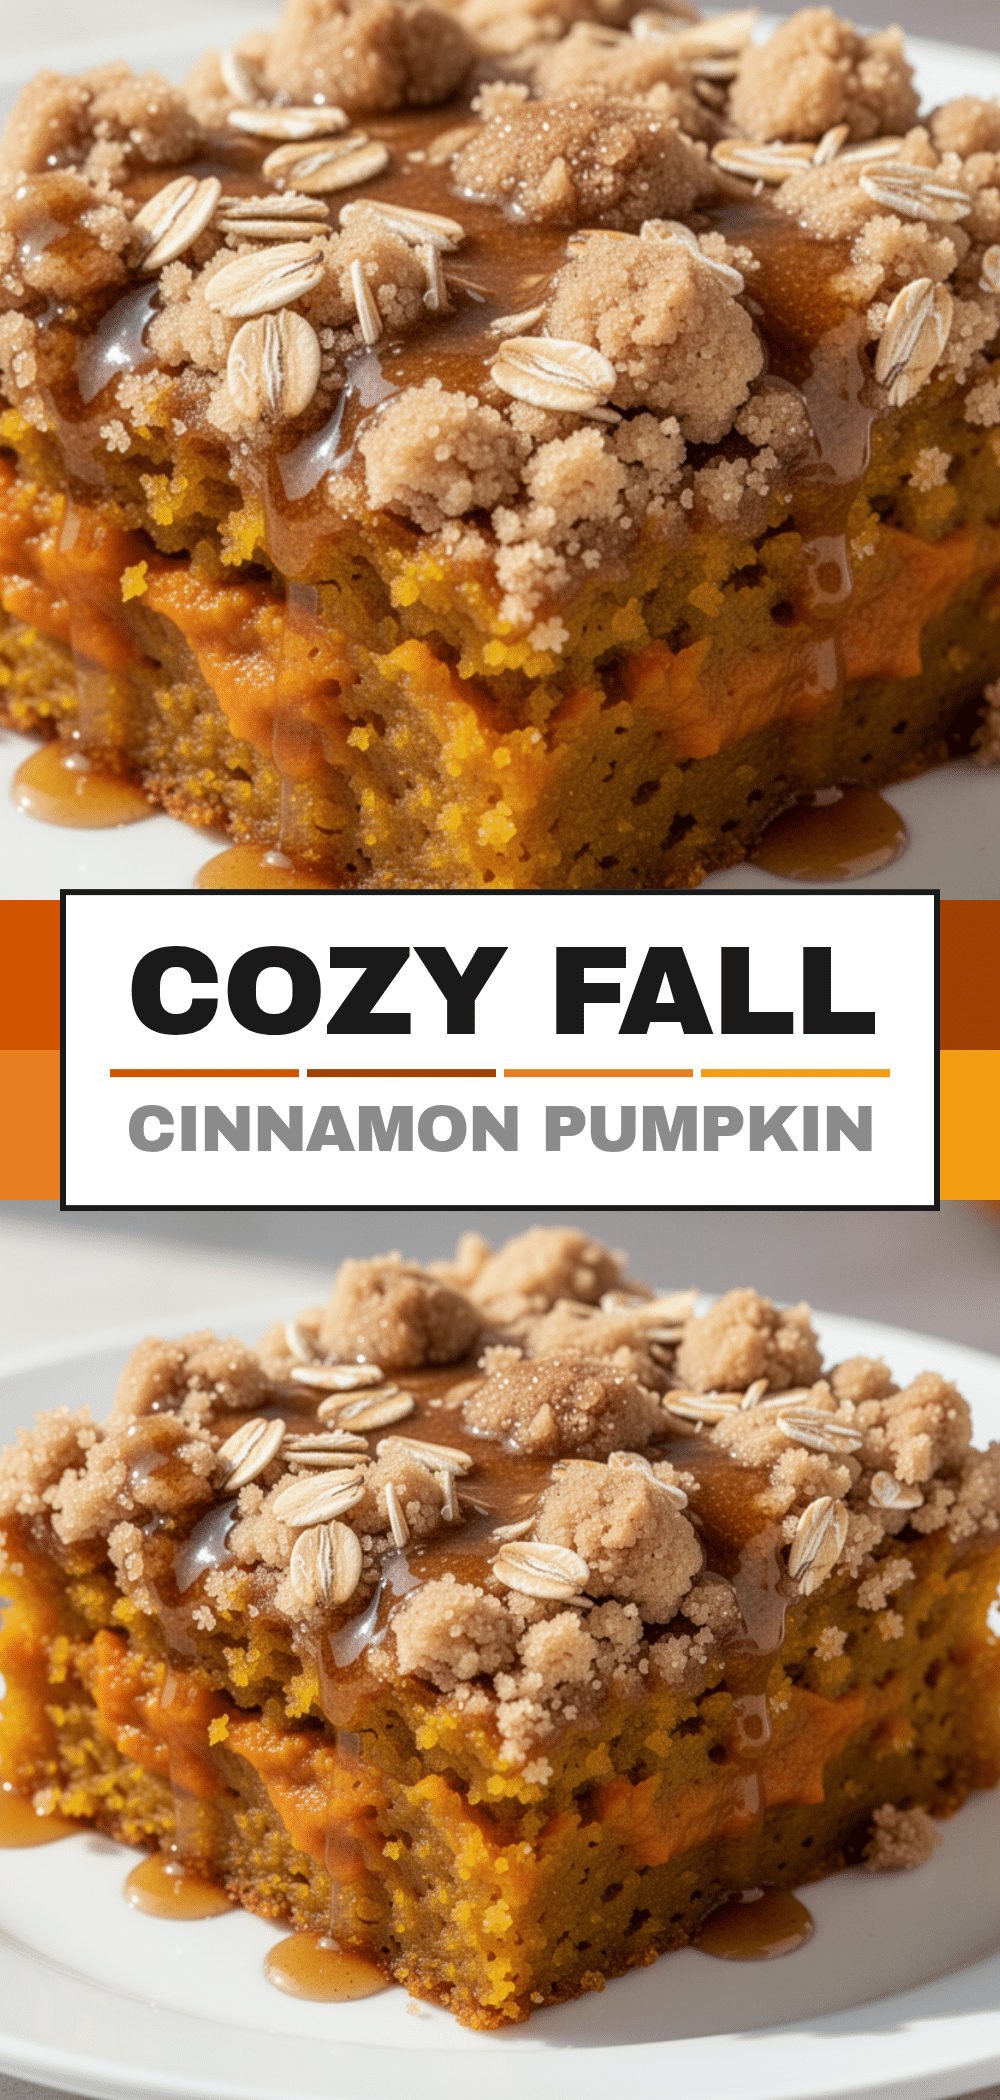
Fall Cinnamon Pumpkin Dump Cake: Easy Autumn Dessert
- Total Time: 1 hour 10 minutes
- Yield: 12 servings 1x
Description
A reliable, incredibly easy autumn dessert that combines a rich, spiced pumpkin layer with a crunchy, cinnamon-sugar cake mix crust. Perfect for busy home cooks who want big flavor with minimal effort.
Ingredients
- 15 oz (425g) canned pumpkin puree (100% pure, not pie mix)
- ½ cup (100g) granulated sugar
- 1 tablespoon spiced pumpkin pie spice
- ½ cup (120ml) heavy cream
- 1 teaspoon vanilla extract
- 1 box (15.25 oz) yellow cake mix
- 1 teaspoon ground cinnamon
- ½ cup (100g) packed brown sugar
- ½ cup (113g) unsalted butter, melted
- Optional: ½ cup chopped pecans or walnuts
- Optional: 4 oz softened cream cheese
Instructions
- Preheat oven to 350°F (175°C) and generously grease a 9×13 inch baking dish with butter or non-stick spray.
- In a medium mixing bowl, whisk together the canned pumpkin, granulated sugar, pumpkin pie spice, heavy cream, and vanilla extract until completely smooth.
- Pour the pumpkin mixture into the prepared baking dish and spread it out evenly.
- In a separate small bowl, combine the dry yellow cake mix, ground cinnamon, and brown sugar.
- Pour the melted butter into the dry ingredients and stir until the mixture resembles coarse, wet sand.
- Sprinkle the crumbly crust mixture evenly over the pumpkin layer. Do not press it down. Add optional nuts if using.
- Bake for 45-55 minutes, or until the crust is golden brown and the pumpkin layer is bubbling vigorously around the edges.
- Let the cake cool in the pan for at least 30 minutes before serving to allow the custard layer to set.
- Serve warm with whipped cream or vanilla ice cream.
Notes
Do not skip greasing the pan as the sugar can caramelize and stick. Use real butter, not margarine, for the best texture. The cake is done when edges are bubbling, not when a toothpick comes out clean. It tastes better the next day as flavors meld. Can be stored in the fridge for up to 4 days or frozen for up to 2 months.
- Prep Time: 10 minutes
- Cook Time: 45-55 minutes
- Category: Dessert
- Cuisine: American
Nutrition
- Serving Size: 1 slice
- Calories: 320
- Sugar: 28
- Sodium: 350
- Fat: 14
- Saturated Fat: 7
- Carbohydrates: 45
- Fiber: 1
- Protein: 3
Keywords: pumpkin dump cake, fall dessert, easy autumn recipe, cinnamon pumpkin, dump cake, Thanksgiving dessert, pumpkin pie spice, yellow cake mix


