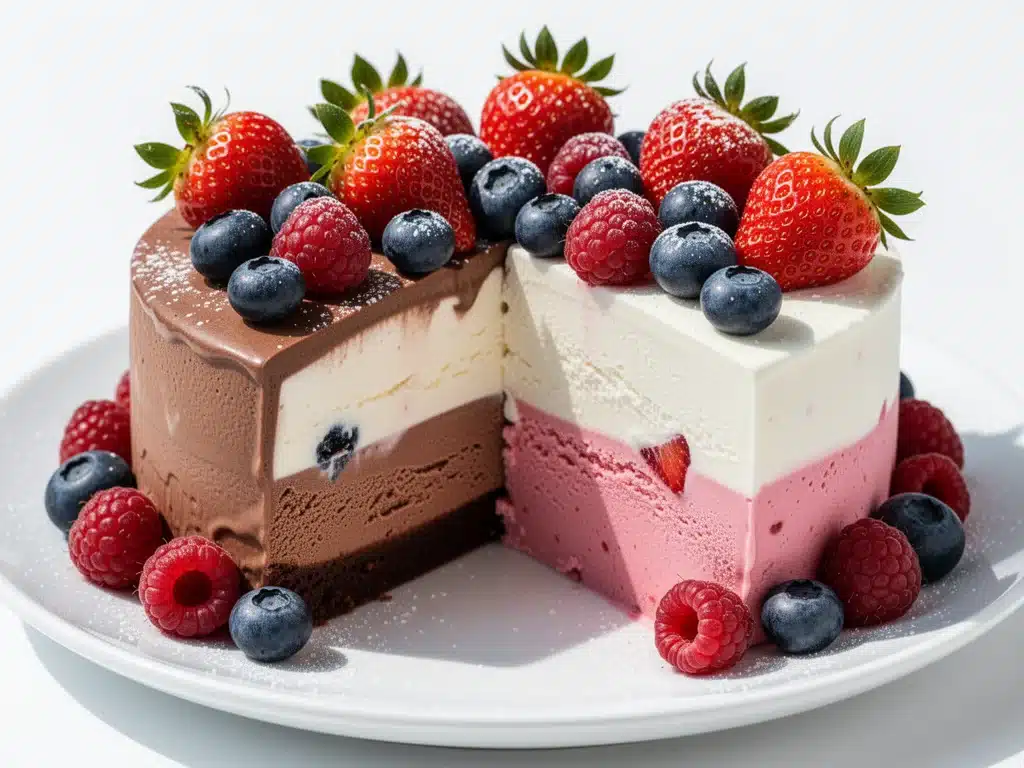
I have a confession to make. For years, I was a total Neapolitan hater. You know the kind—the cheap, waxy brick of ice cream with three distinct, unmixed layers of vanilla, chocolate, and strawberry that everyone seemed to love but that tasted like regret to me. I thought it was the culinary equivalent of a compromise. I was wrong. Dead wrong.
The turning point came three summers ago when my niece, who is seven and has the palate of a discerning food critic, asked me to make her “the rainbow cake” for her birthday. She didn’t want a baked cake. She wanted ice cream. Specifically, she wanted the layers of her favorite flavors stacked high and decorated with sprinkles. I panicked. I had no idea how to make an ice cream cake that wouldn’t turn into a soup by the time we got to the second slice.
So I went into my kitchen, armed with a loaf pan, a block of store-bought Neapolitan ice cream (the good kind, from the freezer aisle, not the fancy gelato shop), and a whole lot of hope. What came out of the freezer wasn’t just edible; it was magical. It was sturdy enough to slice cleanly, creamy enough to melt on your tongue, and nostalgic enough to make my niece squeal with delight. I’ve made this Neapolitan ice cream cake at least a dozen times since then, tweaking the technique until it became my absolute go-to for summer parties, poolside gatherings, and any occasion where you need a dessert that looks impressive but actually takes zero actual baking skill.
This recipe is the antidote to hot summer days. It’s the dessert that saves you from turning on your oven when the temperature outside is 95 degrees. It’s the treat that brings people together because, let’s be honest, everyone has a soft spot for those three classic flavors. Whether you’re a parent trying to impress a room full of kids or just an adult who wants a slice of childhood nostalgia without the sugar crash, this cake is it. It’s festive, it’s cool, and it’s ridiculously easy to pull together.
Why You’ll Love This Recipe
There are about ten reasons I keep making this Neapolitan ice cream cake, but here are the big ones that keep it in my regular rotation.
Zero Baking Required — Seriously. If you can open a carton of ice cream and layer it in a pan, you can make this. No oven, no cooling racks, no worrying about whether your cake is dry or underbaked. It’s the perfect no-bake dessert for people who hate baking or for anyone who just wants to relax while the freezer does the work.
The Crowd-Pleaser Factor — I’ve served this to picky eaters, ice cream snobs, and everyone in between. The three flavors are iconic for a reason. Kids love the bright colors and the sweetness; adults love the nostalgia. It’s a dessert that appeals to almost everyone at the party table.
Make-Ahead Magic — This is the ultimate stress-buster for hosting. You can make this two or even three days in advance. In fact, it tastes better after it has had time to set and meld together. I love making it on Sunday for a Sunday evening dinner party because it requires zero last-minute effort.
Customizable to Any Theme — While the classic red, white, and blue (or just red, white, and brown) is perfect for July 4th, you can swap the flavors for any occasion. Strawberry, vanilla, and chocolate are just the starting point. Want to make a birthday cake? Use vanilla, chocolate, and mint chip. Want something for Christmas? Use vanilla, peppermint bark, and chocolate. The format is endlessly flexible.
Feels Fancy, Costs Less — This looks like something you’d order from a high-end ice cream parlor, but it costs a fraction of the price. A tub of good Neapolitan ice cream is usually under $5, and you can dress it up with cheap sprinkles or fresh fruit. It’s budget-friendly luxury.
This is my go-to when I need a dessert that just works. No complicated techniques, no weird ingredients, just reliable, delicious, cool food that makes everyone happy.
Ingredients You’ll Need
Here’s the best part: you probably have most of this already, or it’s a quick run to the grocery store. I’m particular about one or two things here, and I’ll tell you exactly why.
Neapolitan Ice Cream Block (1 standard 1.5-quart carton) — This is the star of the show. Look for the brick-style Neapolitan where the flavors are distinct layers, not swirled together. I prefer brands like Edy’s or Dreyer’s because they have a nice creamy texture that scoops easily. Avoid the “light” versions if you can; they tend to be icy and don’t slice as cleanly. You want full-fat, creamy goodness.
Cookie Crumbs (1.5 cups / about 150g) — This forms the base. I use chocolate wafer crumbs (like Oreos with the cream removed, or actual chocolate wafer cookies) because they complement the chocolate layer. Graham crackers work too if you want a sweeter, lighter base. Nilla wafers are a classic choice that adds a buttery crunch. The key is to crush them finely so the crust is even.
Butter (4 tablespoons / 60g, melted) — This binds the cookie crumbs together. Don’t skip it, or your crust will fall apart when you slice it. Use unsalted butter so you can control the salt, but salted works fine if that’s all you have.
Sprinkles (½ cup / for decoration) — This is where the fun happens. Jimmies or nonpareils work best because they stick well to the ice cream. I love using red, white, and blue sprinkles for summer, but any color mix works. This is the visual hook that makes the cake look festive.
Optional: Fresh Berries (1 cup, halved) — I like to add a layer of fresh strawberries between the vanilla and strawberry layers for a bit of tartness and freshness. It cuts through the sweetness and adds a nice texture contrast. If you’re in a rush, skip this, but it’s worth it.
Optional: Chocolate Ganache Drizzle (½ cup) — For a more decadent version, you can drizzle melted chocolate over the top before freezing. It adds a nice snap and makes it feel like a fancy dessert shop creation.
Equipment Needed
You don’t need fancy equipment for this. Here’s what I actually use.
9×5 Inch Loaf Pan — This is the ideal shape. It’s deep enough to hold three distinct layers and narrow enough that the cake holds its shape when you unmold it. A springform pan works too, but it’s harder to get clean slices because the sides are wider. I’ve tried both, and the loaf pan is easier for clean cuts.
Plastic Wrap — You’ll need a generous amount. This is crucial for lining the pan so the cake releases easily. I use heavy-duty plastic wrap because regular cling film tears too easily when you’re pressing the ice cream into the corners.
Food Processor or Ziploc Bag + Rolling Pin — For crushing the cookies. The food processor is faster, but I often use the bag and rolling pin method because it’s less cleanup. Just be careful not to crush them into dust; you want some texture.
Spatula — A rubber spatula is best for spreading the ice cream evenly. You need something that can get into the corners and smooth out the top.
Serrated Knife — For slicing. Dip it in hot water between cuts for clean slices. This is the secret to not smashing the layers.
Freezer — Obviously. But make sure you have space. This needs at least 4 hours to set, preferably overnight.
How to Make It: Step-by-Step
Alright, let’s make this! I’m walking you through exactly how I do it, including the little tricks I’ve picked up over a dozen attempts.
Step 1: Prepare the Pan (2 minutes)
Line your 9×5 loaf pan with plastic wrap. Leave an overhang on the long sides—this is your handle for lifting the cake out later. Press it into the corners smoothly. I usually use two strips of plastic wrap crisscrossed to make sure there are no gaps. If the ice cream touches the pan directly, it will stick, and you’ll ruin your beautiful layers.
Step 2: Make the Crust (5 minutes)
Crush your cookie crumbs until they’re fine like sand. In a medium bowl, mix the crumbs with the melted butter until it looks like wet sand. Press this mixture firmly into the bottom of the lined pan. Use the bottom of a measuring cup to pack it down tight. This needs to be solid, or your cake will be crumbly. Place the pan in the freezer for 10 minutes to set the crust while you prep the ice cream.
Step 3: Soften the Ice Cream (10 minutes)
This is the most critical step. Take your Neapolitan ice cream block out of the freezer. Let it sit on the counter for about 10-15 minutes. You want it soft enough to scoop and spread easily, but not so soft that it’s melting into soup. If it’s too hard, you’ll crack the layers. If it’s too soft, the colors will bleed into each other. Test it by pressing your finger into it; it should yield slightly but still hold its shape.
Step 4: Layer the Ice Cream (15 minutes)
Using a large spoon or ice cream scoop, take the chocolate layer first and spread it evenly over the cold crust. Smooth the top with your spatula. This layer should be about 1 inch thick. Place the pan back in the freezer for 15 minutes. This partial freeze is key—it creates a barrier so the next layer doesn’t melt the one below it.
Next, take the vanilla layer. Soften it slightly if needed, then spread it over the set chocolate layer. Smooth it out. Freeze for another 15 minutes.
Finally, add the strawberry layer on top. Smooth the top until it’s level with the rim of the pan. This is your final layer, so make it look nice. You can press some sprinkles into the top now if you want them embedded, or save them for later.
Step 5: The Long Freeze (4+ hours)
Cover the top of the pan tightly with more plastic wrap or aluminum foil. Freeze for at least 4 hours, but overnight is best. This ensures the entire cake is rock solid, which is necessary for clean slicing.
Step 6: Unmold and Decorate (5 minutes)
When you’re ready to serve, lift the ice cream cake out of the pan using the plastic wrap overhang. Place it on a cutting board or serving platter. Peel off the plastic wrap. If you didn’t add sprinkles earlier, press them onto the sides and top now. For a fancy touch, drizzle with melted chocolate or top with fresh strawberries.
Step 7: Slice and Serve
Use a serrated knife dipped in hot water and wiped dry. Cut straight down, wiping the knife between each slice. This gives you those beautiful, distinct layers. Serve immediately.
Expert Tips & Tricks
Here’s everything I’ve learned from making this dozens of times. These tips will save you from my mistakes.
Control the Temperature
The biggest mistake people make is letting the ice cream get too warm between layers. Keep your work area cool. If your kitchen is hot, work in sections. Soften one flavor, spread it, freeze it, then move to the next. Don’t soften all three flavors at once.
Use a Hot Knife
This is non-negotiable for clean slices. Dip your serrated knife in hot water, wipe it dry with a towel, then cut. Repeat this for every single slice. If you don’t do this, you’ll get a jagged, messy cut that ruins the presentation.
Press the Crust Hard
I can’t stress this enough. If your crust is loose, the cake will fall apart. Pack it down firmly. I like to use a flat-bottomed glass to press it into the corners. It should feel like a solid disk when you tap it.
Add a Barrier Layer
If you’re worried about the colors bleeding, add a very thin layer of whipped cream or melted chocolate between the ice cream layers after they’ve frozen. It acts as a seal. I sometimes drizzle a little melted chocolate over the chocolate layer before adding the vanilla. It looks cool and prevents mixing.
Don’t Skip the Chill Time
I know it’s tempting to eat it right away, but the partial freezes between layers are what make the structure work. If you skip them, the layers will merge, and you’ll end up with a muddy pink-brown mess instead of distinct stripes.
Variations & Substitutions
Once you’ve nailed the basic version, here’s how you can mix it up. I’ve tried all of these.
Birthday Cake Version
Swap the strawberry for vanilla bean ice cream, the chocolate for chocolate chip, and the base for yellow cake crumbs. Top with rainbow sprinkles and a dollop of whipped cream. It tastes like a birthday party in a slice.
Strawberry Shortcake Twist
Use strawberry ice cream, vanilla ice cream, and a layer of fresh sliced strawberries. Use graham cracker crumbs for the base. It’s lighter and fruitier.
Chocolate Peanut Butter Cup
Use chocolate ice cream, vanilla ice cream, and peanut butter ice cream. Crush peanut butter cookies for the base. Drizzle with chocolate ganache. This is my personal favorite for adult parties.
Mint Chip Delight
Use mint chip ice cream, vanilla ice cream, and chocolate ice cream. Use chocolate wafer crumbs. Top with crushed peppermint candies. Great for winter holidays.
Dairy-Free Option
Use dairy-free Neapolitan ice cream (many brands now offer coconut milk or almond milk bases). Use dairy-free cookie crumbs. The technique is exactly the same. It’s just as creamy and delicious.
Gluten-Free Option
Use gluten-free cookie crumbs or even crushed gluten-free graham crackers. Check that your ice cream is certified gluten-free (most are, but always check labels). The rest of the process is unchanged.
Serving & Storage
How to Serve:
I usually serve this straight from the freezer. It’s meant to be cold and firm. I like to pair it with a simple black coffee or a glass of cold milk. For a more festive table, I add fresh berries on the side and a few extra sprinkles on the plate.
Side Dishes:
This is a rich dessert, so it pairs well with light, refreshing sides. A simple green salad with lemon vinaigrette cuts through the sweetness. Grilled corn or watermelon slices are also great if you’re serving this at a summer BBQ.
Storage Instructions:
Refrigerator: Do not store this in the fridge. It will melt. Always keep it in the freezer.
Freezer: Keep it in the freezer for up to 2 weeks. Wrap it tightly in plastic wrap and then aluminum foil to prevent freezer burn. If you leave it uncovered, it will get icy and lose its creamy texture.
Reheating: You don’t reheat ice cream cake. But if it’s been in the freezer for a while and is too hard to slice, let it sit on the counter for 5-10 minutes before cutting. This softens it just enough for clean slices.
Pro tip: If you’re making this for a party, take it out of the freezer 10 minutes before serving. It’ll be easier to slice and the flavors will be more pronounced.
Nutrition Information
I’m not a nutritionist, but here’s the breakdown if you’re tracking. Keep in mind that this is a rich, sweet dessert, so portion control is key.
Per Serving (based on 8 slices):
- Calories: 280
- Protein: 4g
- Carbs: 38g
- Fiber: 1g
- Sugar: 32g
- Fat: 14g
- Saturated Fat: 8g
- Cholesterol: 35mg
- Sodium: 180mg
What’s Good:
- It’s a single-serving dessert, so it’s easy to control portions.
- Contains calcium from the ice cream.
- Can be made with lighter ice cream options if you prefer.
What to Know:
- High in sugar and saturated fat, as expected for an ice cream cake.
- Contains dairy and gluten (unless modified).
- Best enjoyed as an occasional treat.
My Take:
Look, this is ice cream cake. It’s not a health food. But it’s a fun, nostalgic treat that’s better than store-bought versions because you control the ingredients. When I make it for kids, I use less sugar in the crust and add fruit. When I make it for myself, I go all out with the chocolate drizzle. It’s about balance and enjoyment.
Final Thoughts
So that’s my Neapolitan ice cream cake! I’ve probably talked your ear off at this point, but when you make a recipe this often, you have a lot to say about it. This has saved me from baking disasters more times than I can count. It’s my answer to “what’s for dessert” when I’m tired, don’t want to turn on the oven, and still want something that tastes really good.
My family loves it, my friends ask for it, and I love making it because it’s so simple yet so impressive. It’s the perfect summer dessert because it’s cool, colorful, and brings back those happy childhood memories of birthday parties and pool days.
Make it yours! Try different cookie bases, swap in your favorite ice cream flavors, or get creative with toppings. The best recipes are the ones you adapt to your family’s tastes. If you make this, drop a comment and let me know what you think! I love hearing how recipes turn out in your kitchen. And if something doesn’t work, tell me that too—I’m here to help troubleshoot.
Happy cooking! And I hope your kitchen smells half as good as mine does right now (okay, it smells like freezer air, but you get the idea).
Frequently Asked Questions
Can I use soft-serve ice cream instead of a block?
You can, but the texture will be different. Soft-serve has more air in it, so your cake will be fluffier and less dense. If you use soft-serve, you’ll need to layer it differently—maybe use a springform pan instead of a loaf pan. I stick with the block style because it’s easier to get clean, distinct layers. If you do use soft-serve, freeze it in stages to keep the layers separate.
Why did my ice cream cake fall apart when I sliced it?
This usually happens for two reasons: the crust wasn’t packed down tightly enough, or the cake wasn’t frozen long enough before slicing. Make sure you press the cookie crumbs firmly into the pan, and let the cake freeze for at least 4 hours, preferably overnight. Also, use a hot knife! A cold knife will smash the ice cream instead of cutting through it cleanly.
Can I make this dairy-free?
Yes! Just use dairy-free Neapolitan ice cream (coconut milk or almond milk bases work well) and dairy-free cookie crumbs. The technique is exactly the same. I’ve made this for lactose-intolerant friends, and they couldn’t tell the difference. Just make sure to check labels for cross-contamination if you have a severe allergy.
How long does this keep in the freezer?
It keeps well for up to 2 weeks if wrapped tightly. After that, it might start to develop freezer burn or lose its creamy texture. I usually recommend making it within a few days of serving for the best quality. If you need to store it longer, wrap it in two layers of plastic and then foil.
Can I use a different pan shape?
You can use a springform pan, which makes unmolding easier but results in a wider, shorter cake. You’ll need to adjust the layering time accordingly. A round cake pan works too, but the layers might be harder to keep distinct. The loaf pan is ideal because it’s narrow and deep, allowing for thick, clear layers. If you use a different pan, just adjust the freezing times.
What if I don’t have Neapolitan ice cream?
No problem! You can make your own layers using three separate tubs of ice cream. Just soften each one slightly and layer them in the same way. Or, get creative: use strawberry, vanilla, and chocolate chip. Or mint, vanilla, and cookie dough. The beauty of this recipe is that it’s a framework, not a rigid recipe. Use whatever flavors you and your family love.
Pin This Recipe!
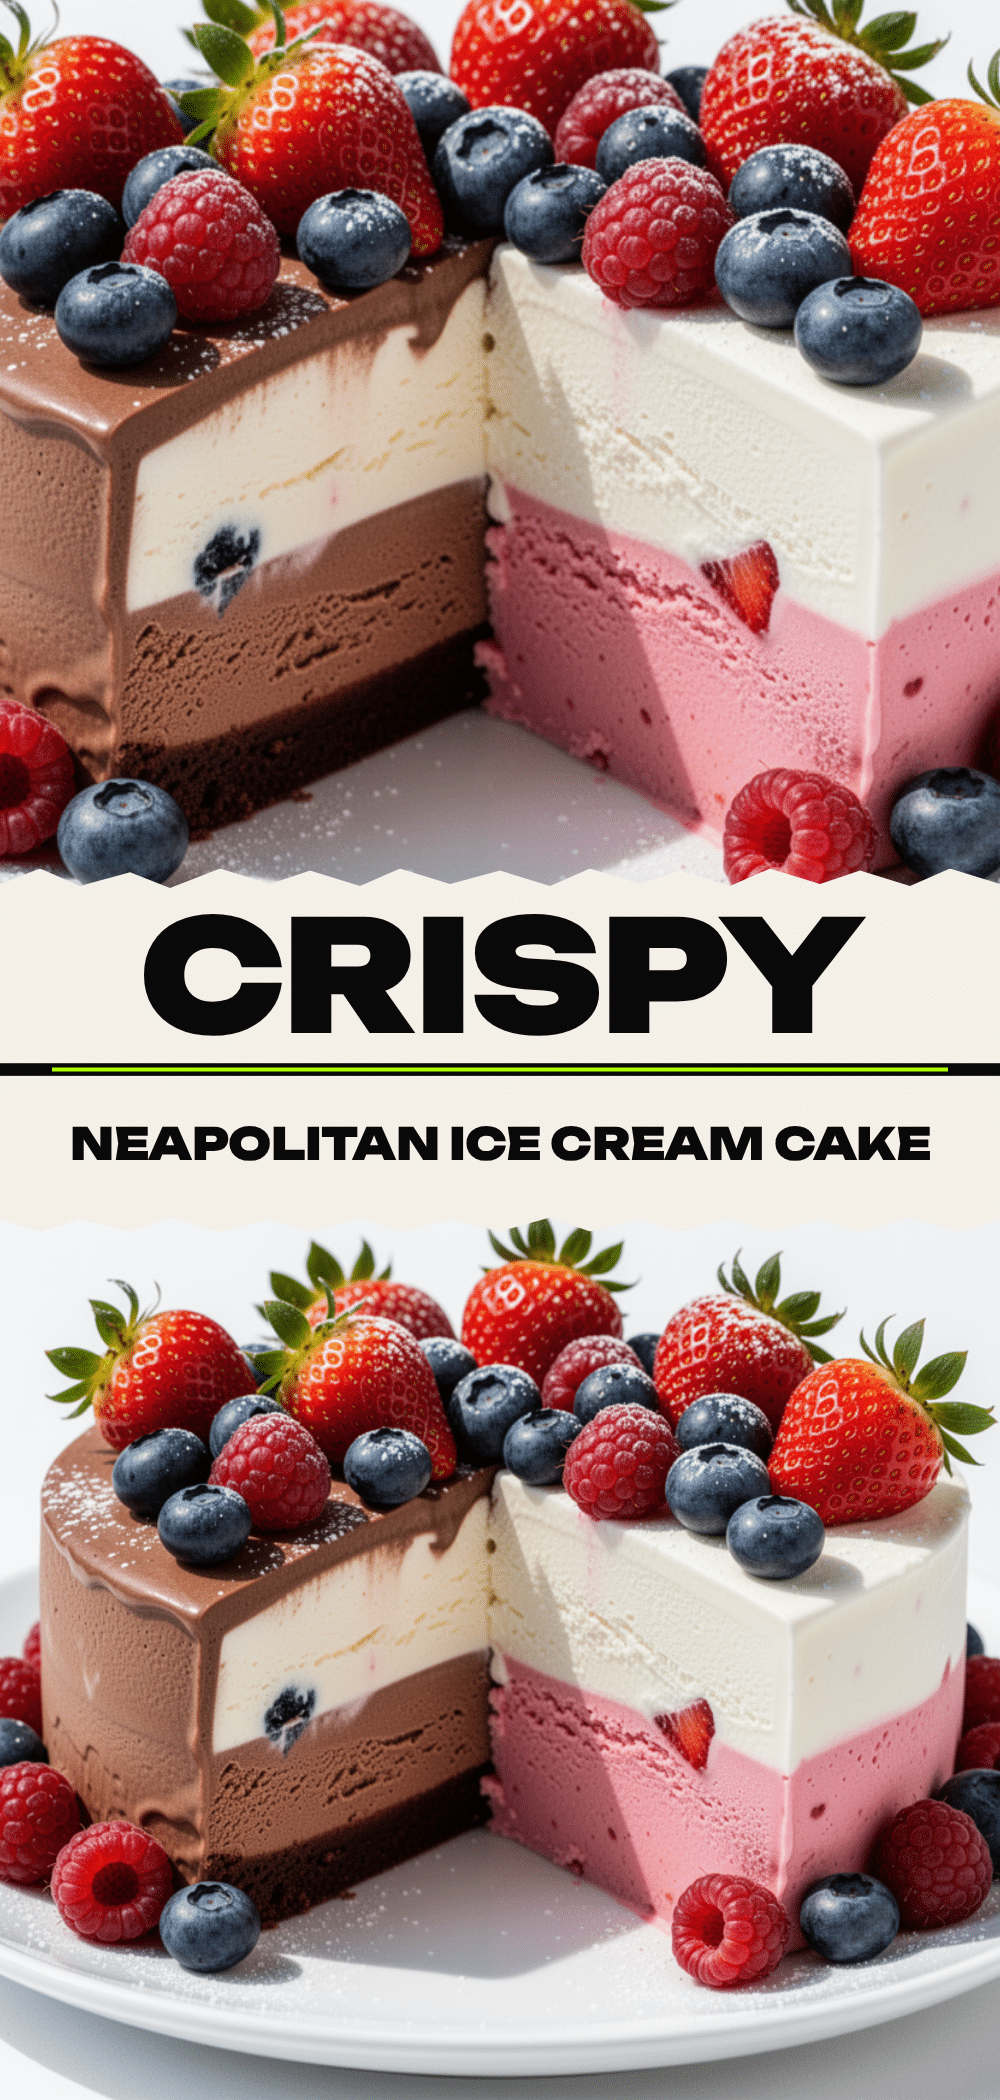

Neapolitan Ice Cream Cake: Easy Summer Dessert
- Total Time: 4 hours 32 minutes
- Yield: 8 servings 1x
Description
A no-bake, make-ahead summer dessert featuring distinct layers of vanilla, chocolate, and strawberry ice cream on a cookie crust. This nostalgic treat is easy to make, budget-friendly, and perfect for parties.
Ingredients
- 1 standard 1.5-quart carton Neapolitan ice cream block (brick-style, full-fat)
- 1.5 cups (150g) cookie crumbs (chocolate wafer, graham cracker, or Nilla wafers)
- 4 tablespoons (60g) butter, melted
- ½ cup sprinkles (for decoration)
- 1 cup fresh strawberries, halved (optional)
- ½ cup chocolate ganache or melted chocolate (optional)
Instructions
- Line a 9×5 inch loaf pan with plastic wrap, leaving an overhang on the long sides for easy removal.
- Crush cookie crumbs until fine. Mix with melted butter until the texture resembles wet sand.
- Press the crumb mixture firmly into the bottom of the lined pan. Place in the freezer for 10 minutes to set.
- Remove Neapolitan ice cream from freezer and let sit for 10-15 minutes until soft enough to spread but not melting.
- Spread the chocolate layer evenly over the cold crust (about 1 inch thick). Freeze for 15 minutes.
- Spread the vanilla layer over the set chocolate layer. Freeze for another 15 minutes.
- Spread the strawberry layer on top, smoothing it level with the rim of the pan.
- Cover the pan tightly with plastic wrap or foil. Freeze for at least 4 hours, preferably overnight.
- Lift the cake out of the pan using the plastic wrap overhang. Peel off the wrap.
- Press sprinkles onto the sides and top if desired. Drizzle with chocolate ganache if using.
- Slice using a serrated knife dipped in hot water and wiped dry between cuts. Serve immediately.
Notes
Ensure the ice cream is softened correctly: too hard will crack layers, too soft will cause bleeding. Press the crust firmly to prevent crumbling. Use a hot knife for clean slices. The cake can be made dairy-free or gluten-free by using appropriate substitutes. Store in the freezer for up to 2 weeks.
- Prep Time: 32 minutes
- Cook Time: 0 minutes
- Category: Dessert
- Cuisine: American
Nutrition
- Serving Size: 1 slice
- Calories: 280
- Sugar: 32
- Sodium: 180
- Fat: 14
- Saturated Fat: 8
- Carbohydrates: 38
- Fiber: 1
- Protein: 4
Keywords: Neapolitan ice cream cake, no-bake dessert, summer dessert, ice cream cake, make-ahead dessert, easy dessert, party dessert, nostalgic dessert


